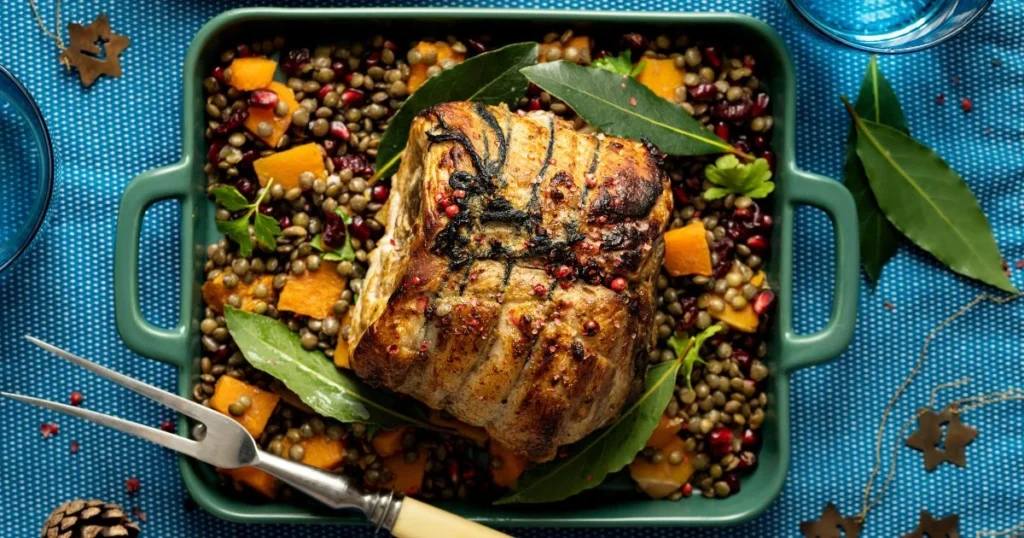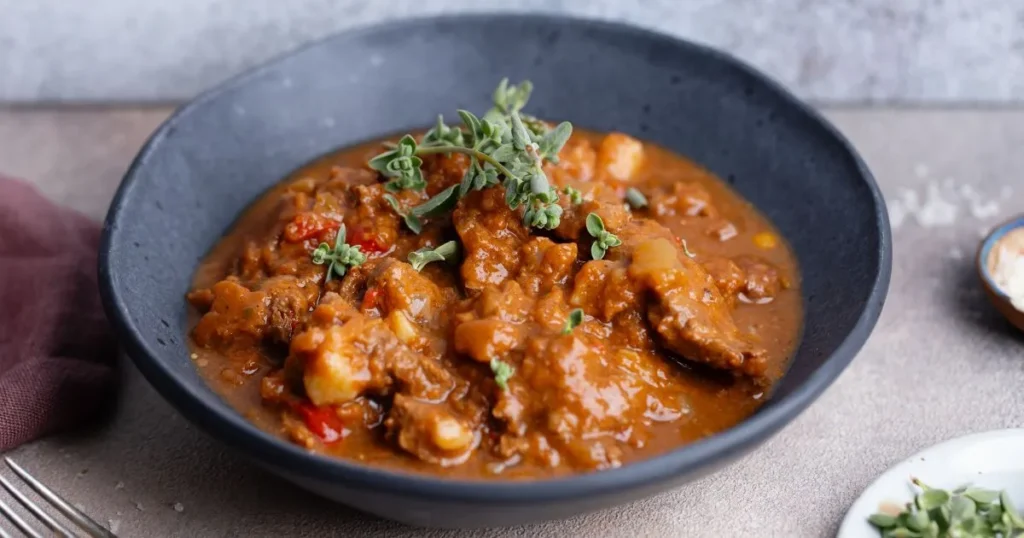
When it comes to comfort food, few things can compare to a hearty homemade meal with rich, velvety chicken gravy. You know that feeling—sitting down at the table, the aroma of roasted chicken filling the air, and that first spoonful of gravy coating your plate with warmth and flavor. That’s the magic of a homemade chicken gravy recipe. Not only does it elevate your dishes, but it also brings a sense of home, love, and care into every bite.
If you’ve ever struggled with store-bought gravy that tastes bland or watery, this guide is for you. With just three simple steps, you’ll create a gravy that’s flavorful, perfectly thick, and versatile enough to complement any meal. By the end of this article, you’ll have all the tools and tips you need to make a chicken gravy that rivals your favorite restaurant, right from your kitchen.
Table of Contents
Why This Homemade Chicken Gravy Recipe Stands Out
You might wonder why you should go through the effort of making gravy from scratch when ready-made options exist. The answer is simple: nothing compares to the taste of homemade gravy.
Here’s why this recipe stands out:
- Fresh and Flavorful: Using real chicken drippings or broth gives your gravy a depth of flavor that store-bought versions can’t match.
- Customizable: You control the seasoning, thickness, and herbs. Want a touch of creaminess or extra herbs? You can add them effortlessly.
- Budget-Friendly: Instead of buying pre-packaged gravy, you can make a large batch using leftovers, reducing food waste and saving money.
- Versatile: This gravy pairs beautifully with roast chicken, mashed potatoes, rice, biscuits, and even roasted vegetables.
This recipe is designed for anyone—whether you’re a seasoned home cook or just starting out. The three simple steps are easy to follow, yet they guarantee a professional-level taste.
Ingredients You’ll Need for This Easy Chicken Gravy Recipe
To get started, gather the following ingredients. Having everything measured and ready will make the process smooth and stress-free.
Chicken Gravy Recipe Ingredients Table
| Ingredient | Quantity | Notes |
|---|---|---|
| Chicken drippings or broth | 2 cups | Use leftover drippings for maximum flavor |
| Butter | 2 tbsp | Unsalted preferred to control salt levels |
| All-purpose flour | 2 tbsp | For thickening the gravy |
| Salt & pepper | To taste | Adjust according to broth used |
| Fresh herbs (optional) | 1 tsp | Thyme, parsley, or rosemary enhance aroma |
Pro Tips:
- For a gluten-free gravy, use cornstarch instead of flour.
- Vegetable broth can replace chicken broth if you want a lighter version.
Having your ingredients organized will save time and prevent common mistakes, like lumpy gravy or under-seasoning.
How to Make Chicken Gravy in 3 Simple Steps
Making gravy doesn’t have to be complicated. By breaking it down into three steps, you can achieve a smooth, rich, and flavorful gravy every time.
Step 1 – Make the Roux
The foundation of any good gravy is the roux, a simple mixture of fat and flour:
- Melt the butter in a medium-sized saucepan over medium heat.
- Gradually whisk in the flour until the mixture turns golden brown.
- Stir continuously to prevent burning; the aroma of toasted flour is your indicator that it’s ready.
This step ensures your gravy has body and thickness without becoming gummy.
Step 2 – Add the Drippings or Broth
The liquid is what transforms your roux into a rich gravy:
- Slowly pour in chicken drippings or broth while whisking constantly.
- Bring the mixture to a gentle simmer.
- Continue stirring until the gravy reaches your desired consistency.
Pro Tip: Gradual whisking prevents lumps and ensures a smooth texture.
Step 3 – Season and Simmer

Flavoring the gravy is where you make it your own:
- Add salt, pepper, and herbs to taste.
- Reduce the heat and let it simmer for a few minutes.
- Taste and adjust seasoning—sometimes a pinch more salt or a dash of pepper makes all the difference.
Optional additions:
- A splash of cream for richness
- Sautéed onions or garlic for extra depth
- A hint of mustard or Worcestershire sauce for complexity
At this point, your gravy should be smooth, flavorful, and ready to serve.
What to Serve with Chicken Gravy Recipe
Gravy is versatile, and pairing it with the right dishes enhances the meal. Here are some classic and creative options:
Classic Pairings
- Mashed potatoes – the ultimate comfort food
- Roast chicken – let the gravy seep into every slice
- Biscuits – perfect for soaking up every last drop
- Rice – a simple and satisfying option
Creative Pairings
- Over fries (poutine-style) – indulge in a decadent twist
- Roasted vegetables – adds richness to your greens
- Bread as a dip – perfect for casual meals or snacks
Using gravy creatively elevates simple dishes into memorable meals.
Storing and Reheating Homemade Chicken Gravy
Making gravy ahead of time or storing leftovers is easy if you follow these tips:
Storage
- Refrigerate in an airtight container for up to 3 days.
- Freeze in portions for up to 3 months.
Reheating
- Reheat gently on the stovetop over low heat.
- Add a splash of broth or water to restore the desired consistency.
- Stir occasionally to prevent sticking or separation.
Proper storage ensures your homemade gravy retains its flavor and texture, so you can enjoy it anytime.
Tips for Perfecting Your Chicken Gravy Recipe
Even with a simple recipe, small adjustments can make a big difference:
- Always whisk gradually to avoid lumps.
- Taste after thickening to adjust salt and pepper.
- Use fresh herbs instead of dried ones for a brighter flavor.
- Add cream sparingly if you prefer a richer, silkier gravy.
- Use pan drippings whenever possible—they’re the secret to deep flavor.
These tips will help you consistently make gravy that tastes restaurant-quality.
Frequently Asked Questions (FAQ) about Chicken Gravy Recipe
Can I make chicken gravy without drippings?
Yes! Substitute chicken broth for drippings and add butter for richness. While drippings offer maximum flavor, broth alone still produces a delicious result.
How do I thicken chicken gravy without flour?
Cornstarch or arrowroot powder can replace flour for a gluten-free option. Mix it with a small amount of cold water before adding to the gravy.
Why is my chicken gravy lumpy?
Lumps usually form when liquid is added too quickly. Whisk gradually and maintain medium heat for smooth results.
Can I make chicken gravy ahead of time?
Absolutely! Store it in the fridge or freezer, then reheat gently with a splash of broth.
How long can I store homemade chicken gravy?
Up to 3 days in the fridge or 3 months in the freezer. Proper airtight storage preserves both flavor and texture.
Conclusion
Making your own homemade chicken gravy recipe doesn’t have to be complicated. In just three simple steps, you can create a rich, flavorful gravy that elevates any meal. Whether you’re serving roast chicken, mashed potatoes, biscuits, or even roasted vegetables, this gravy brings warmth, comfort, and a touch of indulgence to your table.
Remember, the key to a perfect gravy lies in the quality of ingredients, proper technique, and seasoning. Once you master this recipe, you’ll never go back to store-bought gravy again.
Now it’s your turn—gather your ingredients, follow the steps, and create a chicken gravy that will impress your family and friends. Don’t forget to share your favorite pairings or tips in the comments below!
Call-to-Action:
If you enjoyed this recipe, subscribe to our newsletter for more easy, flavorful, and family-friendly recipes. Share your results on social media and tag us to show off your homemade chicken gravy creation!
Your Voice Matters
Easy-to-Follow Recipe with Delicious Results
I tried this recipe last night and it turned out amazing! The instructions were clear, the flavors were well-balanced, and it was surprisingly easy to prepare. My family absolutely loved it, and I’ll definitely be making it again. Highly recommend to anyone looking for a simple yet delicious homemade meal.